The Woodland Bird Hide Project
Finding a Location

I have wanted to setup my own woodland birdhide for sometime having spent a fortune visiting other peoples hides, so I decided to approach the manager that I knew who ran a nearby estate.
I knew it would not be easy to get something too quickly as there were a lot of people in the decision process (Estate owners/Gamekeepers etc.), but after waiting a few weeks I was given a choice of six small woodlands. I was given a map and and told to markup where I would like to setup the hide.
Apart from photographic considerations my main worry was getting somewhere away from public footpaths and anywhere where the presence of the hide doesn't attract trouble from kids etc. as I did not want to be putting effort into something that was going to get trashed... I have a heard a couple of stories of people trying this only to have their project ruined!
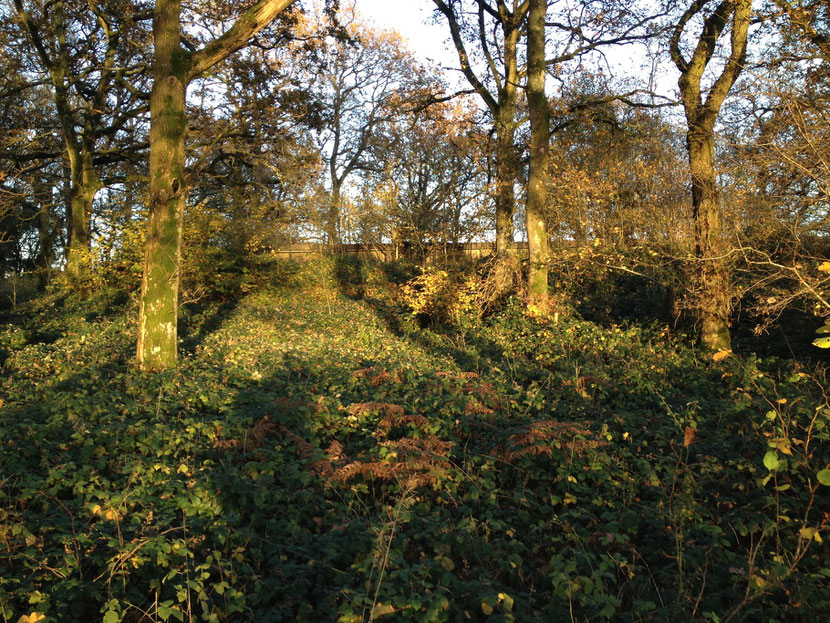
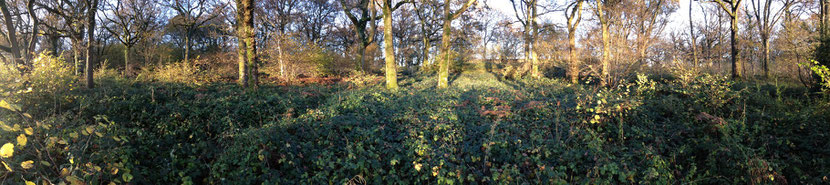
So after a bit of wandering around the countryside I decided on the location below..
There are a few trees that are not in an ideal position and its well overgrown with brambles but there appears to be plenty of birdlife. So I signed a rental agreement with the landowner and handed over £200.00 for a license to site a birdhide for 1 year, which I thought was good value considering what you can spend on hide rental...
The first job was to cut a path to the location and clear a small area where we would build the hide so I set about this at the end of November 2014.
Starting the Feeding
With the location set it was time to start feeding the birds. I initially set up one feeder which was a triple tube type with nuts, seed and fat balls in to see how things went. I also set up a camera trap to see what and who was around when I wasn't there. It was my intention to check twice a week to see how things were going but that's easier said than done when you are busy elsewhere.
So after about 3 days I returned and was quite excited to see what would be on the feeders, but to my disappointment nothing was happening, the feeders were still full and no birds had been from what I could see..
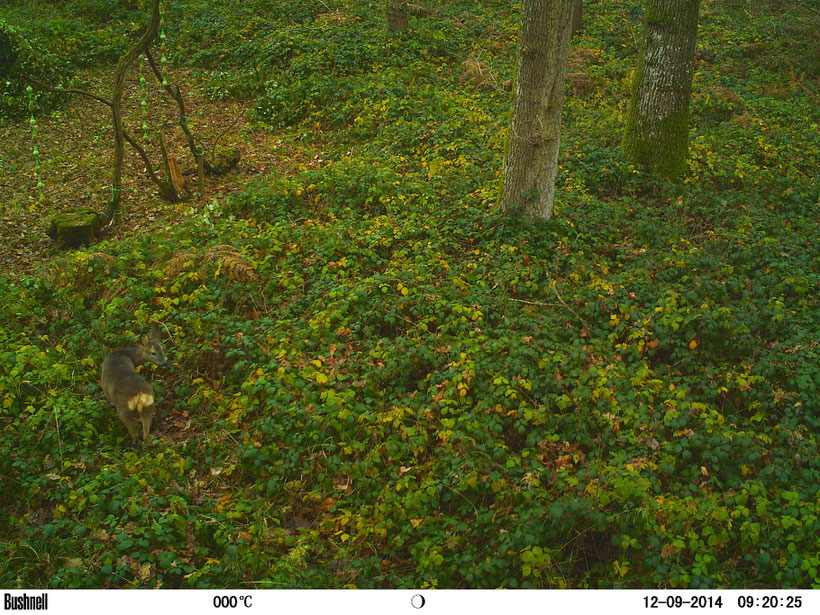
I had also set up a camera trap high up in a tree and this had picked up a few deer but not much else...
So I left and returned at the weekend but still not much going on, the amount of birds spotted in the trees overhead was quite encouraging though, so I thought it must just be a matter of time before the birds found the feeders.
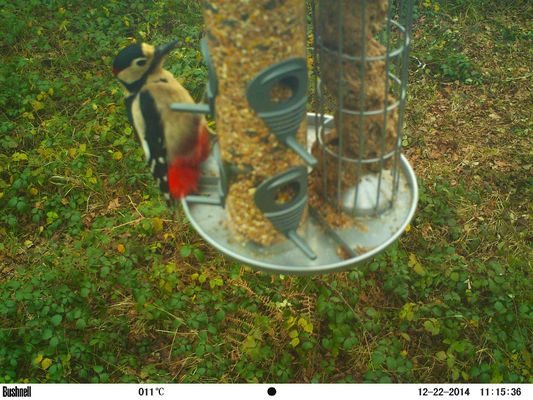
I kept visiting for a few more weeks and added some more feeders and eventually the food started to disappear, so to find out what was eating the food I moved the camera trap nearer the feeder and you can see the results below, although not very sharp as the camera decided to focus on the ground...
So with the feeding finally underway I embarked on the job of building my hide... This was to be built at home in sections, and then transported to the woods and put together there...
Building the Hide

To save costs and because I happen to have a yard full of old timber I decided that I was not going to spend any money on timber!
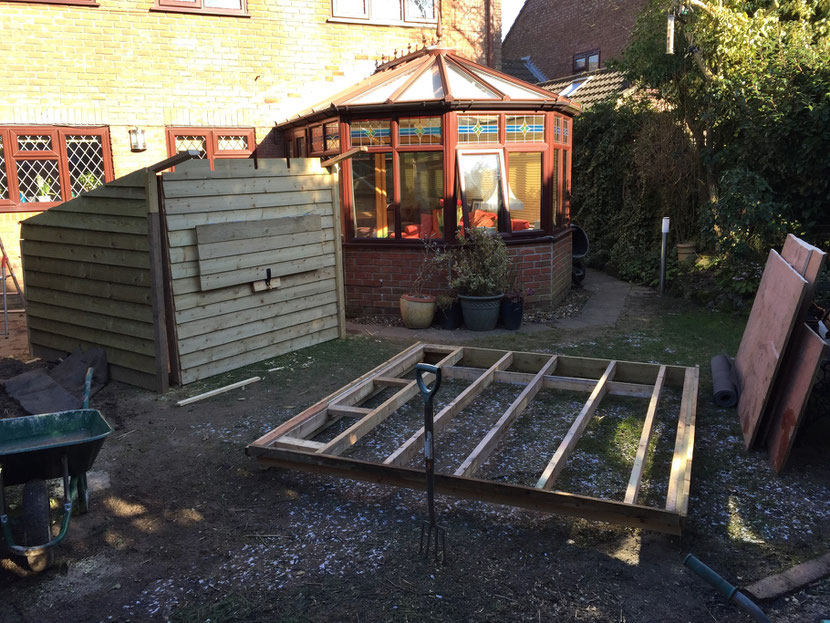
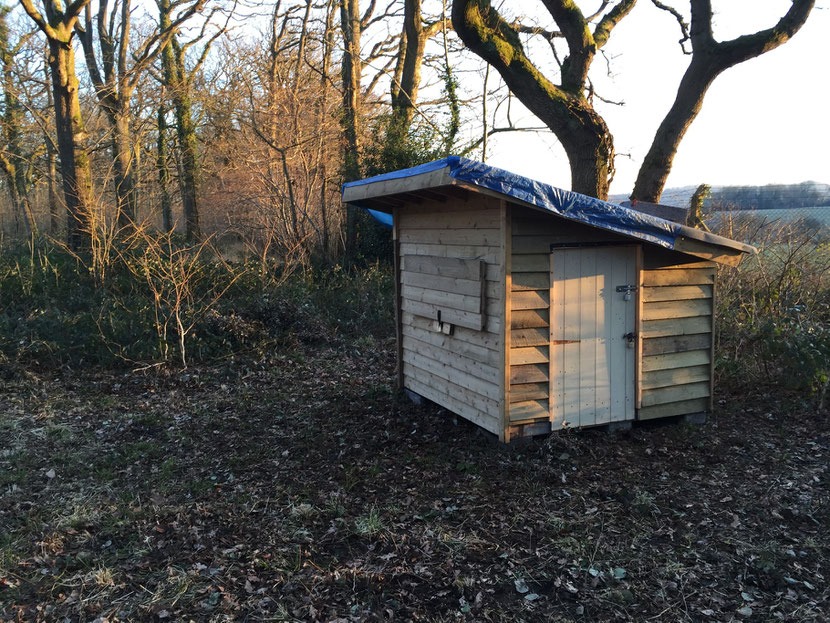
So over the next two weekends I put together the half dismantled hide you see in the pictures below..
I never bought any timber but spent £13 on glass creating the two one way windows, and £8 for the fabric to make the sleeves for the lens to go through.. I also spent about £40 on hinges, locks, screws, roof felt and paint. So all in all it cost me about £65 to make the whole hide.
Getting the Hide to Location
The next job was to get in into the woods which proved to be extremely hard work as it is quite a long walk and the sections were really quite heavy... So I enlisted the help of 3 other people to assist me with this.
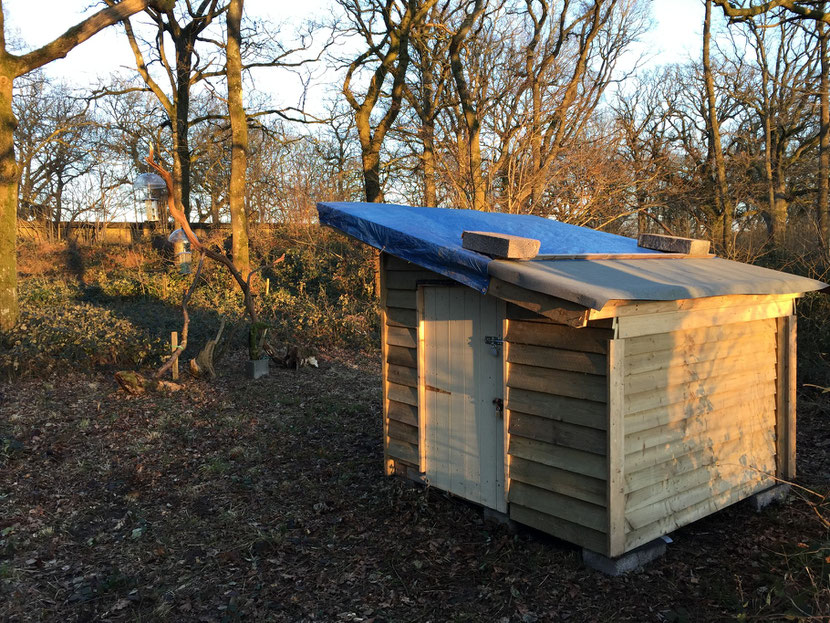
The next day I fitted the felt roof and finished off any outstanding bits. The exterior painting is still to do...
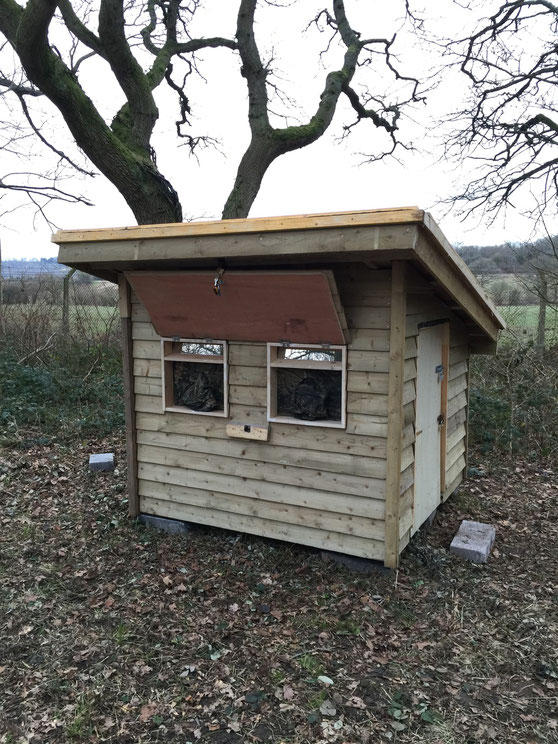
One of the interesting things about this project is learning from your mistakes. I have found that without having any view past the camera as the fabric is not see through, it makes it a bit of a neck ache looking through the window whilst trying to keep your eye close to the viewfinder so you can react quickly to anything that arrives.
So possibly thinking of re-making the sleeve with something a bit easier to see through, but then its a trade off as when you start to let light into the hide the birds can then sense your presence.
So will have to give this some thought.

Building the Reflection Pool

This was undertaken in May 2015. I did not want to make anything to permanent as I was unsure as to whether it would be a success or not.
So I went to my builders yard and collected up some tressel's, plywood and a few bits of old timber that was not required for anything else and bought a roll of 600mm DPC to line the pool.
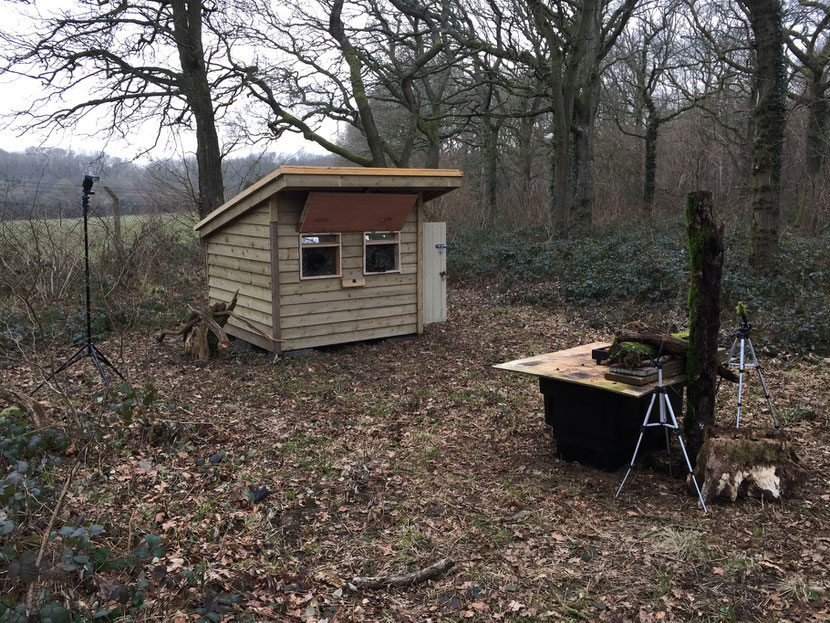
And this is how it went...

So there it is, in all about 4 hours work to construct and get everything in place.. I have adapted the end of the pool since this was finished to get the food closer to the waters edge...


Update 2020
When in Hungary recently I was given some of the special one way glass that allows you to photograph from within the hide without the birds seeing the lenses move as you are completely hidden away. It reduces the light levels by about 1.5 stops but is a worthy sacrifice.. I packed the glass into my suitcase and British Airways got it back in one piece.
Here it is all fitted..